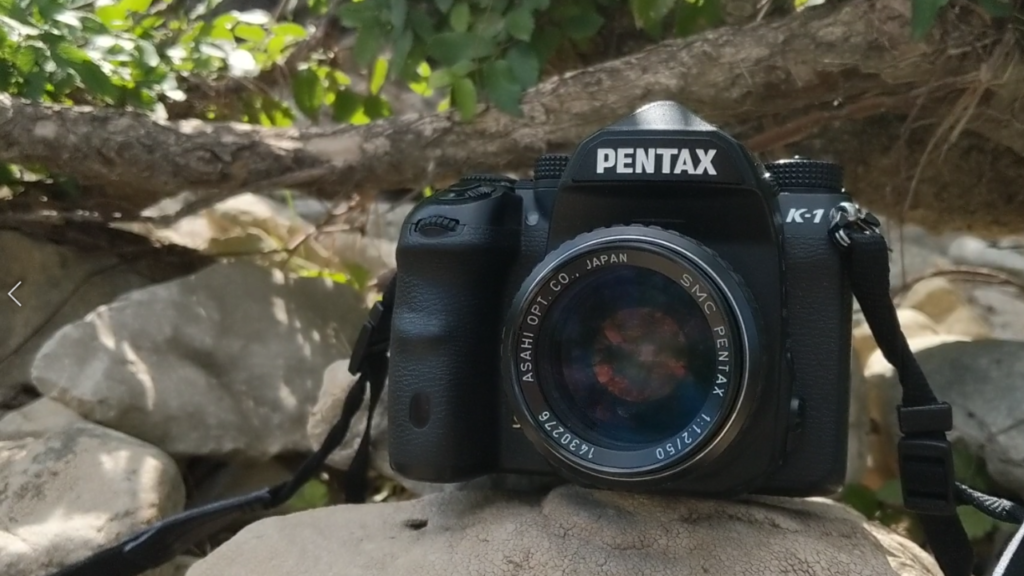
I shoot all my YouTube video content on either my Pentax K-3 or Pentax K-1 DSLRs, with the exception of some GoPro or mobile footage thrown in. This includes my headshot type videos and product shot videos. Now, I am no expert in video and I think that should be fairly clear from the quality of videos you see on my channel. But all the same many of you have been asking for me to go over my Pentax video settings. And I would be happy to do that for you.
I will break this into two sections. The first will be my Pentax camera video settings used for my headshot interview type videos. The second will be the video settings I use for my product shot type videos. They are pretty similar with a few exceptions.
Before we jump in, just a quick note that applies to both. Many people will say that Pentax cameras are just no good for video. That you shouldn’t even bother. That’s a little bit of an exaggeration. Pentax cameras are capable of video, and I’m glad they have the feature there for people like me who can’t afford having a dedicated camera just for video. (Yet). It’s true the frame rate options are limited and the bit rate is quite low, but you have to think of it like an older stills camera. If you get the scene lighting, exposure, and colors right in-camera to begin with, then it can actually look pretty good. But if you don’t, well good luck editing this compressed stuff.
Pentax Video Settings for Headshot/Interview Type Videos
This will be fairly quick because Pentax doesn’t have a lot of options when it comes to video anyway. While the exact camera I am showing is the Pentax K-1, most Pentax models of the last seven or so years have almost identical video settings. For better or worse. So, most if not all of this will apply to you regardless of what camera you are using.
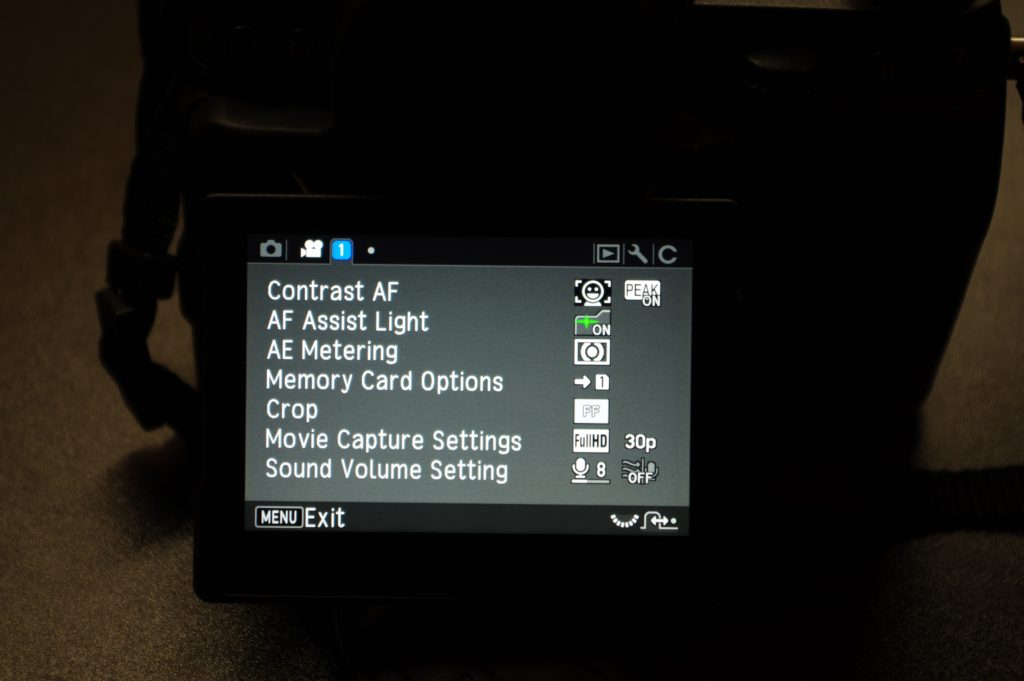
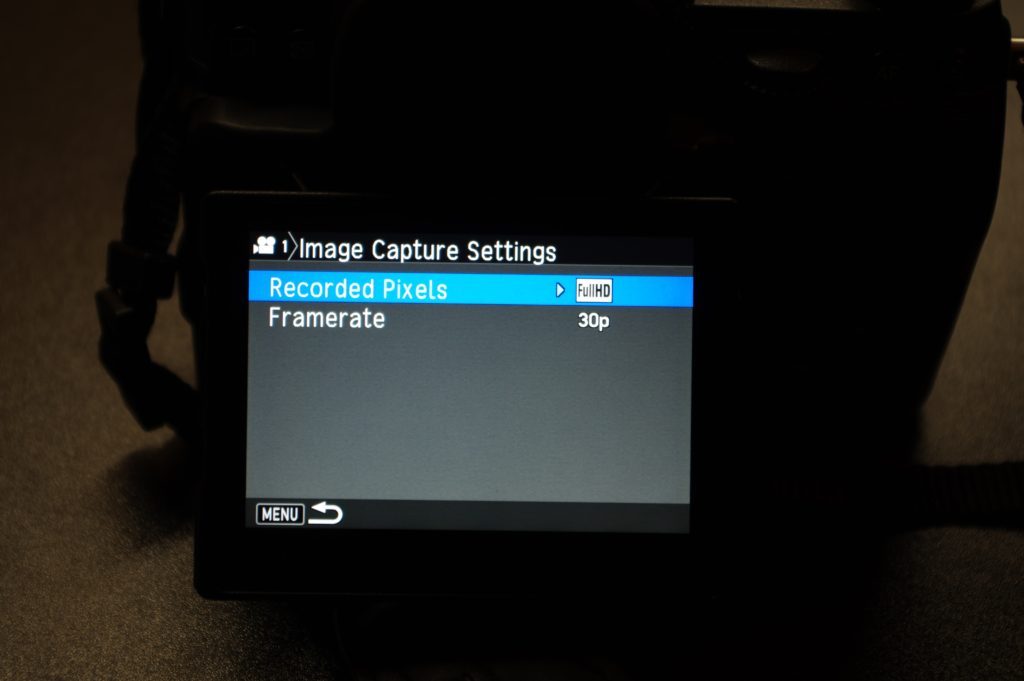
I shoot 1080p at 30 frames per second. I’ve never found a situation where it’s worth shooting 60 interlaced frames because of the problems interlaced video introduces. Maybe you can think of one, feel free to let me know in the comments.
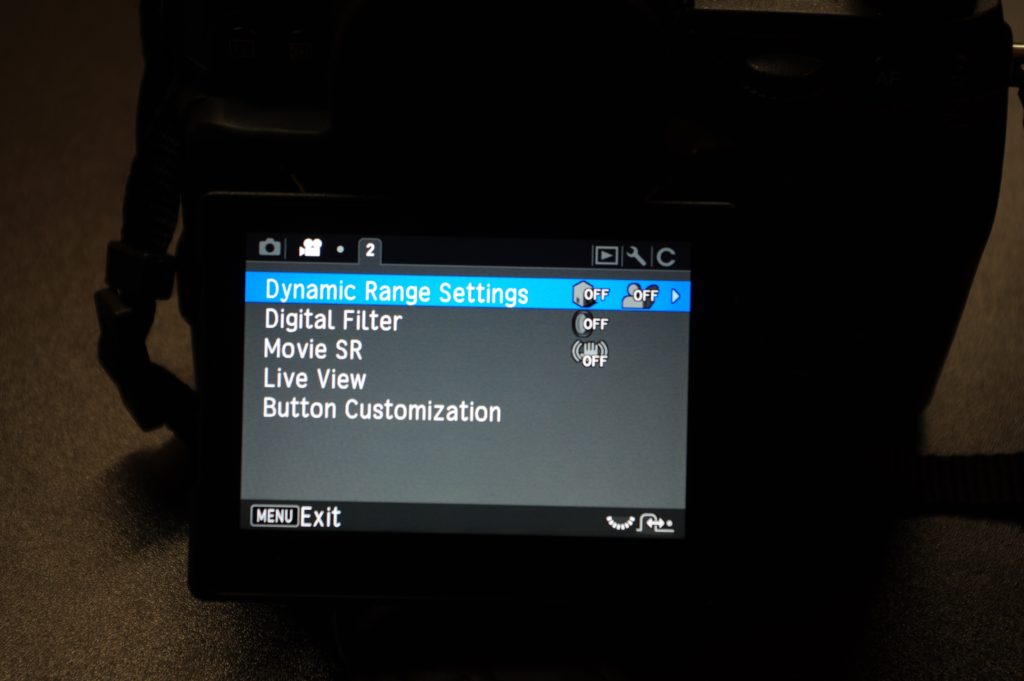
I do not use video dynamic range settings or digital filters. The former just adds artifacts especially in poor lighting, and the latter are fun to play with but don’t look great for this kind of video.
I shoot in manual mode to dial in the exposure to my needs.
The lens is in manual focus and I prefocus using liveview and that nice little punch-in feature with focus peaking. This isn’t a K-70 so I don’t have that nifty flip out screen, so one thing I will do is either borrow my wife to sit where I would sit and focus on her, or I place an object on the chair where my head would be.
The exposure is obviously different depending on the lighting of your scene. You really need to nail this in camera, because there is no room for adjusting this in post without compression artifacts showing. The key here is lighting your subject well, which is something I am still very much learning and could be it’s own topic. But it’s more important than having a fancier video camera. It is worth taking the time to learn how to properly light.
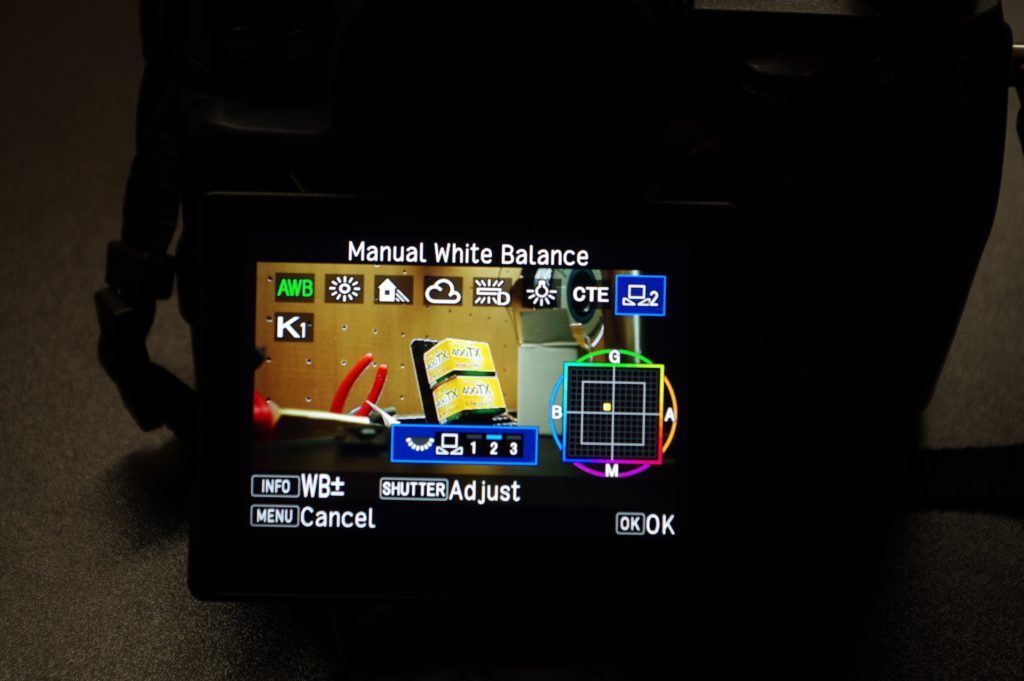
I do not use auto white balance in this situation because I find it get confused with mixed indoor light sources, leading to bad skin tones. Instead, I have a manual white balance setting I configured set ready to go. I set this by turning on all my lights and putting a card where my face would be. This works really well. Like the exposure, you really, really need to get colors right in-camera. I have tried to color grade Pentax video footage and it just doesn’t work. Take a JPEG picture, upload it to Facebook, download it from Facebook and then try to edit in Lightroom and that’s sort of what it’s like.

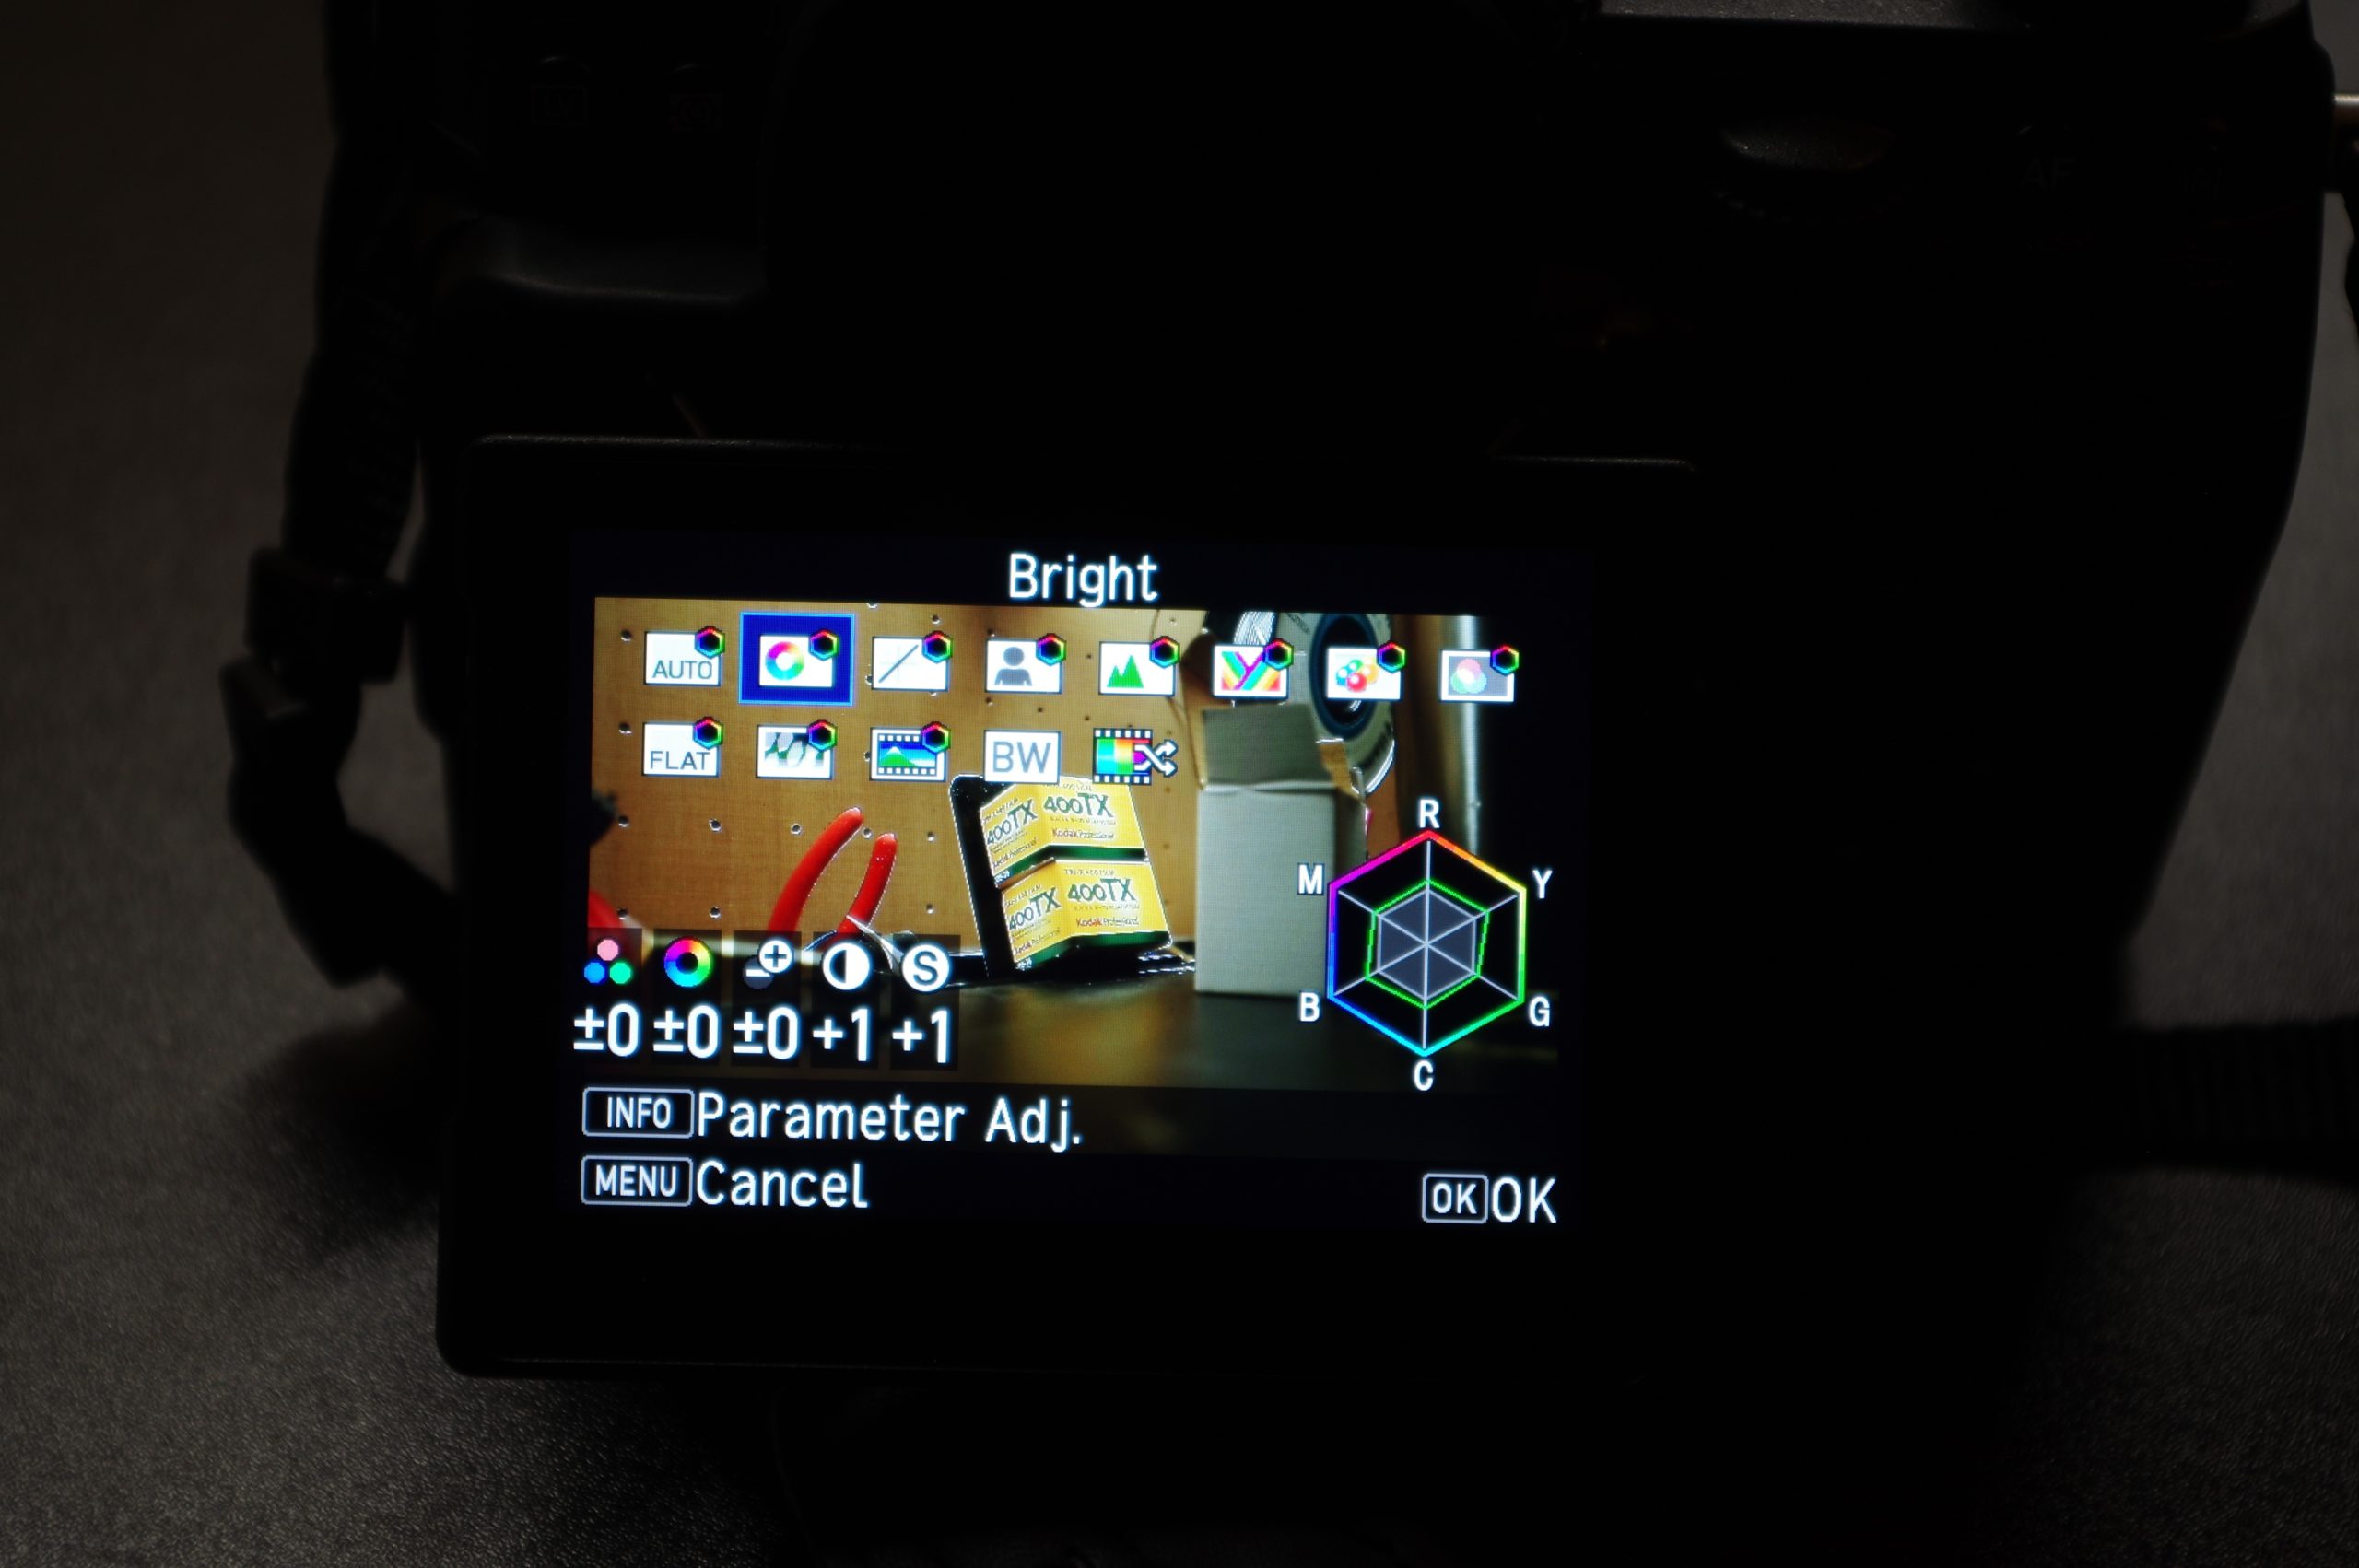
Because the bitrate is so low and I am trying to do everything in camera, I have played a bit with the video profile settings. This probably depends more on your exact setup, so play around with what you like. For me, I am using the bright setting with contrast +1, sharpness +1 and here’s how the colors are stretched. Once again, color will depend on your lighting, needs, and personal taste.
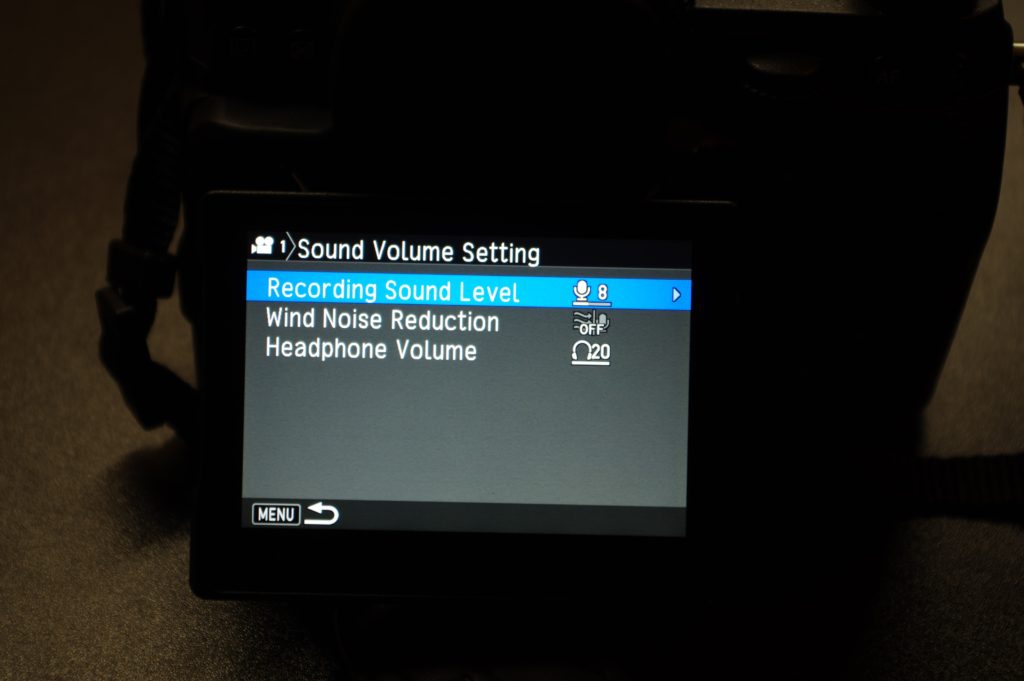
Just a quite note. For audio, I use an external microphone and I set the mic input to eight and push it in post. This works out pretty well even on my $20 mic. If the level is set too high you will get clipping really easily and it doesn’t sound great.
Lastly, make sure video stabilization is set to off. When on a tripod this stabilization will go stir crazy and start moving your frame around making it look like someone hand held the video. Not cool.
Pentax Video Settings for Product Shots/Broll
These settings are really similar to the ones I described already, with a few exceptions.
One would be that I actually really like the sensor stabilization for slow pans. It can still be quirky at times, and especially with longer focal lengths, but under 100mm it seems to work really well. So much so, that I sold my little camera slider dolly because it was just so much easier to do it by hand, and doesn’t look half bad.
I will also often shoot a flatter profile here than I do in my headshot videos. Once again, just play with the color and contrast settings to find something you like.
I still don’t use autofocus. I find it much faster and more reliable to use manual focus. Even if I was using a camera with great video AF, I think I would use manual focus just for the control and the nice focus pull shots.
Pentax Video Final Thoughts
Well, those are the settings I use on my Pentax cameras for my videos. I’m still learning how to shoot video, but I am slowly getting better. If there’s one thing I can say for certain it is that just like photography, taking the time to study skills like lighting and color will do more for the quality of your output than a new camera will. I think that applies here for video. If I keep this up, one day I will be a better dedicated video camera with some more features, but for now, I am happy with trying to just get the basics right. Who knows, maybe I will even get there one of these days.
Thanks for reading. I hope this was a helpful post. Feel free to share your video tips and tricks in the comments, or ask any questions. If you have some more in depth questions reach out to me on the forum.
Go out there and shoot video with whatever you got! And until next time, happy snappin’
P.S. For fun, here is my first attempt at lighting a video of myself vs my more recent attempts. I was even using a much better Panasonic video camera in my first attempt! Goes to show it’s more about learning lighting and sound than buying fancy gear.
First attempt:
Recent attempt on Pentax K-1:
Looking to pick up some used camera gear? UsedPhotoGear (by Roberts Camera) is my favorite resource. Great prices, good selection, and a 180 day warranty. The pictures are even of the actual item, unlike some other places. I’ve chosen to work with them as an affiliate, and as such may receive a commission if you choose to purchase something using my link: Get 5% off total order on UsedPhotoPro